
To put in a contact lens, wash and dry your hands, balance the lens on your index fingertip, hold both eyelids open, and gently place the lens on your eye. Release your lids slowly and blink. The details below explain where to put your fingers and what to check before trying again.
This guide covers soft contact lenses and reinforces the technique taught at your fitting. If you have not practiced inserting and removing your lenses with your eye care professional, arrange that training first. Rigid and scleral lenses need their own handling instructions.
Before you start
Set up a mirror in good light on a clean surface. Have your prescribed lenses, a clean lint-free towel, and your backup glasses nearby. Keep fingernails smooth and away from the lens and eye. Put your lenses in before applying makeup. These preparation tips are consistent with ACUVUE’s new-wearer guidance and the FDA’s contact lens care advice.
- New lenses: check that the blister is sealed and undamaged before opening it. Follow the instructions supplied with your lenses.
- Previously worn reusable lenses: complete the prescribed cleaning and disinfection routine before insertion. If you use a hydrogen peroxide system, finish its full neutralization cycle in the supplied case. Never rinse a lens with unneutralized peroxide just before putting it in.
The CDC’s lens-care guide explains why cleaning, disinfection, and peroxide neutralization are separate steps.
How to put in contact lenses, step by step
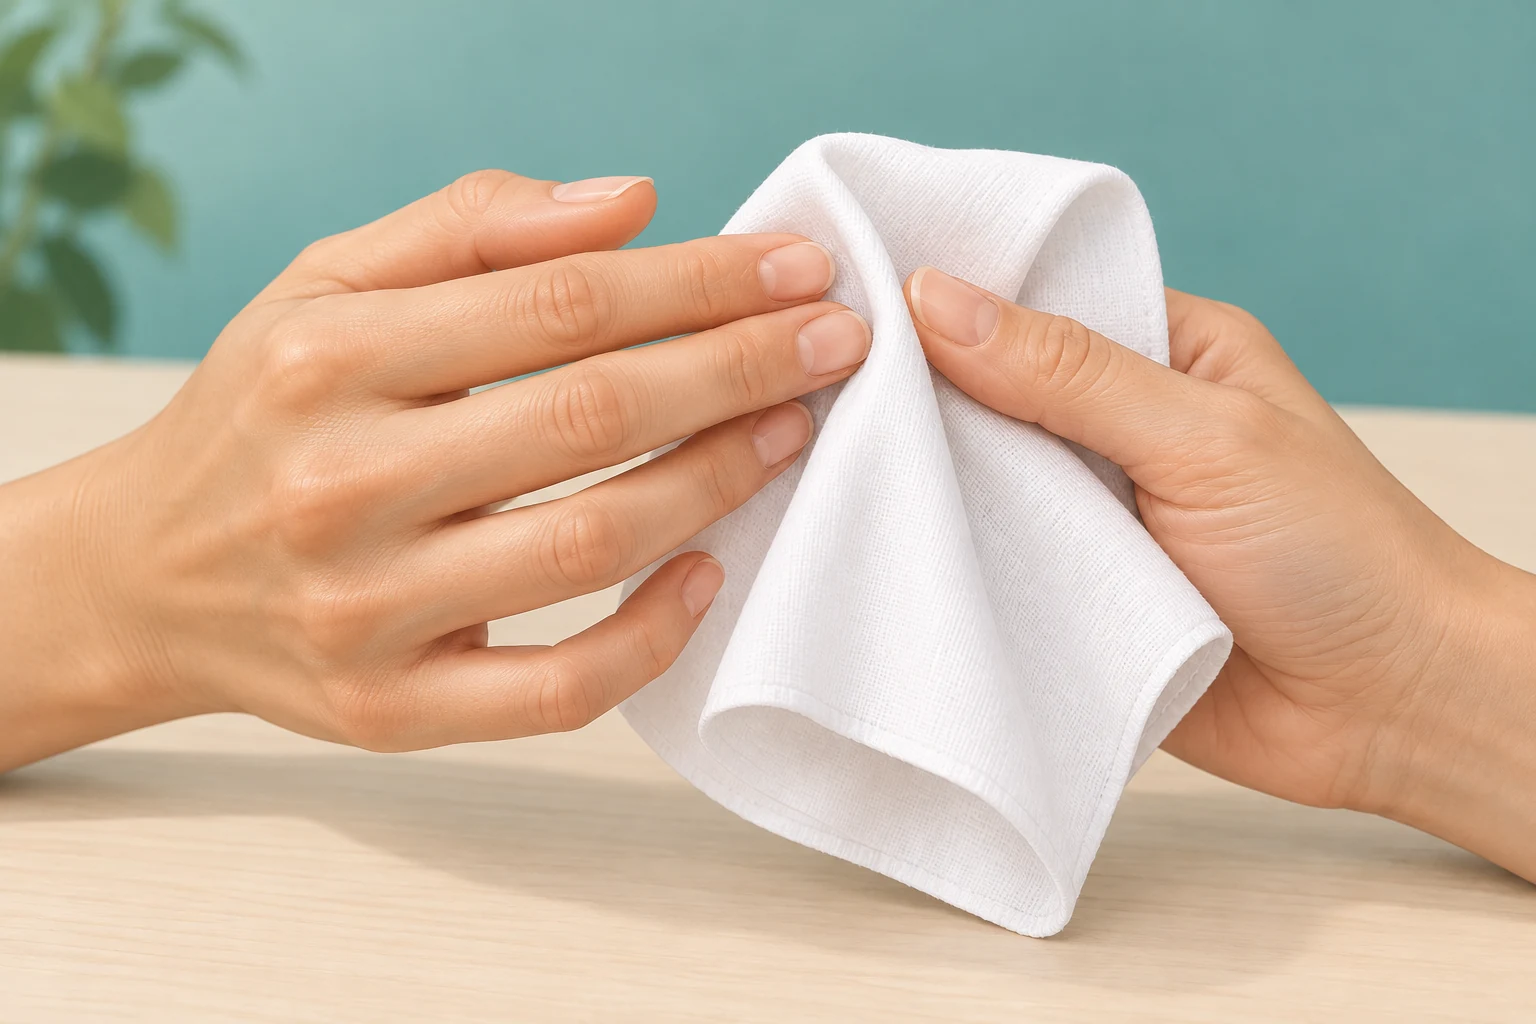
1. Wash your hands and dry them completely
Use soap and water, rinse thoroughly, and dry with a clean lint-free towel before touching a lens. Avoid leaving soap, lotion, or towel fibers on your fingertips. The CDC recommends washing and completely drying your hands before lens handling.
2. Pick the correct lens and check its shape
Start with the same eye each time so you are less likely to switch the lenses. If you are unsure which package belongs to which eye, check your fitted prescription; our guide to contact lens prescription fields explains the labels.
Gently lift the lens out with a fingertip and balance it on the tip of your index finger. It should form a small bowl with the edges pointing upward. Flared edges suggest it is inside out. Check for tears or visible debris, and do not insert a damaged lens. CooperVision’s insertion guide illustrates these checks.
3. Hold both eyelids open
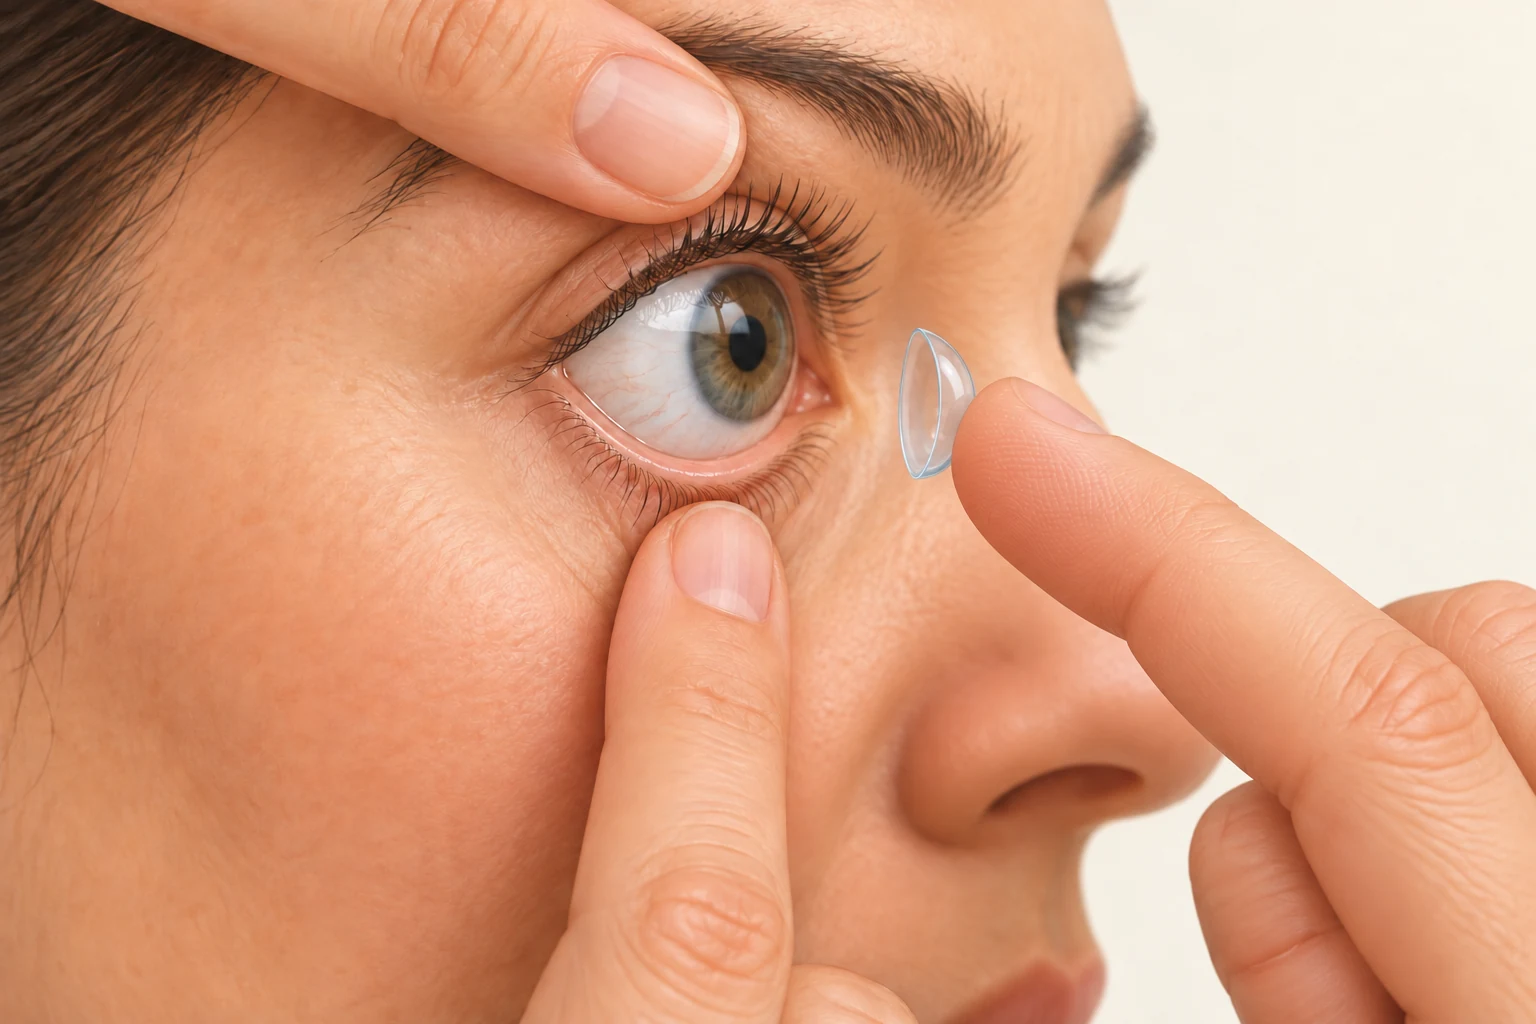
Use a finger of your free hand to hold the upper lid up near the lash line. With the middle finger of the hand carrying the lens, gently lower the bottom lid. Your index finger stays free to carry the lens toward your eye. Keep your fingertips on the lids, with your nails clear of the eye.
4. Bring the lens gently to your eye
Look straight ahead toward the mirror and slowly bring the lens to the front of your eye. Let it make gentle contact; do not push on your eye. Once the lens transfers, move your index finger away. This front-of-eye approach follows Alcon’s insertion instructions. Use the technique your own eye care professional demonstrated if it differs.
5. Release your lids and check comfort
Let go of your eyelids slowly, then blink gently. Check that the lens feels comfortable and your vision is clear before repeating the process for the other eye. Do not continue wearing a lens that hurts or leaves your vision unexpectedly blurry.
If you keep blinking or the lens stays on your finger
Your lid closes before the lens reaches your eye: pause and reset your hand position. Check that you are holding both lids open, rather than only lifting your eyebrow. If repeated attempts are frustrating, ask your eye care professional to watch your technique; Alcon recommends repeat training when needed.
The lens stays on your fingertip: excess moisture on your finger can make transfer harder. Start with clean, dry hands while keeping the lens moist. CooperVision’s new-wearer guide specifically identifies wet fingers as a reason a lens may stick.
You drop the lens: replace a daily disposable with a fresh one. A reusable lens needs the cleaning and full disinfection process specified for its care system before another attempt; a quick rinse is not enough. See ACUVUE’s advice for dropped lenses. Never rinse a lens with water or saliva.
When to stop trying
Pain, redness, light sensitivity, sudden blurred vision, or unusual watering or discharge need prompt attention. The CDC advises removing your lenses and calling your eye doctor immediately if these symptoms occur. If you cannot remove a lens, seek professional help without forcing it. Do not treat these symptoms as something you need to get used to.
After both lenses are in
Follow the wearing schedule your eye care professional gave you. If you use reusable lenses, discard the old case solution and follow your case-care instructions. Our guide to when to change contact lens solution covers that routine.
If your lens power differs from your glasses, the glasses-to-contacts calculator can help explain the theoretical power conversion. It cannot select your lens or replace a professional fitting; use the lenses prescribed for you.
